Almond nail tips are pre-shaped extensions that create tapered sides and a softly rounded point without requiring you to grow or sculpt the full length from your natural nail. The best set is not simply the longest or most curved option. It is the one that matches your nail-bed width, sits flush from sidewall to sidewall, follows your natural curve without pressure, and gives you enough length to keep the almond silhouette balanced.
For most beginners, short or medium full-cover almond tips are the easiest place to start. Short tips feel more practical for typing and daily tasks, while medium tips show the taper more clearly and provide more room for French lines, chrome, swirls, and detailed art. Before applying anything, check the fit of all ten tips, organize them in order, and follow the adhesive or gel system’s exact directions.
- Choose a tip that covers the natural nail from sidewall to sidewall without touching skin.
- When you are between sizes, start with the slightly larger tip and file the sides down evenly.
- Short almond tips are practical, while medium tips show the tapered shape more clearly.
- Full-cover soft-gel tips are beginner-friendly, but only when the curve fits without gaps or pressure.
- Never force, peel, or pry tips off; follow the product system’s removal directions.
Table of Contents
Almond Nail Tips at a Glance
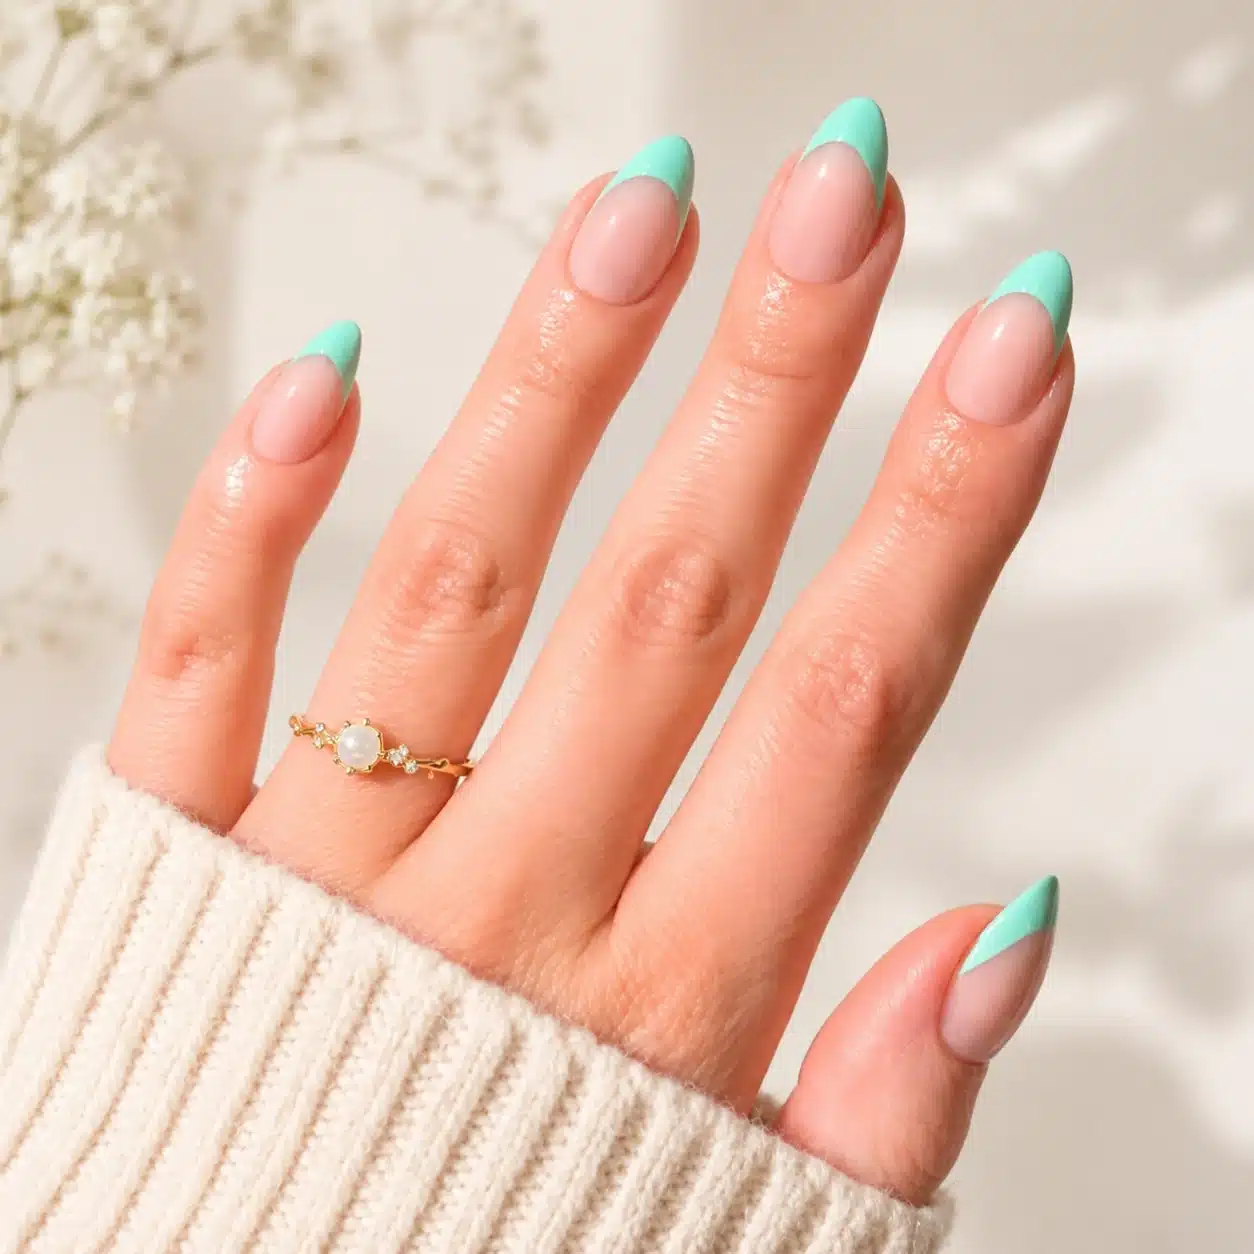
Almond nail tips narrow gradually toward the center and finish with a rounded point. They look more tapered than oval tips but less sharp than stiletto tips. If you are still deciding between two natural-looking shapes, this almond vs oval nails comparison explains how the sidewalls and tip change the finished silhouette.
| Tip type | Best for | Main fit check |
|---|---|---|
| Short full-cover almond | Daily wear and beginners | Enough taper without pinching the sidewalls |
| Medium full-cover almond | Classic almond shape and more design space | Centered apex and no air gap under the middle |
| Half-cover tip | Acrylic or builder-gel overlays | Seam sits evenly across the free edge |
| Finished press-on | Fast color and art with minimal shaping | Cuticle edge follows the natural nail without overlap |
The almond shape works best when the point remains centered. A tip that leans left or right will look crooked even if the color is perfect. Before application, hold every tip over the nail and view it from above, from the side, and from the free edge.
What Are Almond Nail Tips?
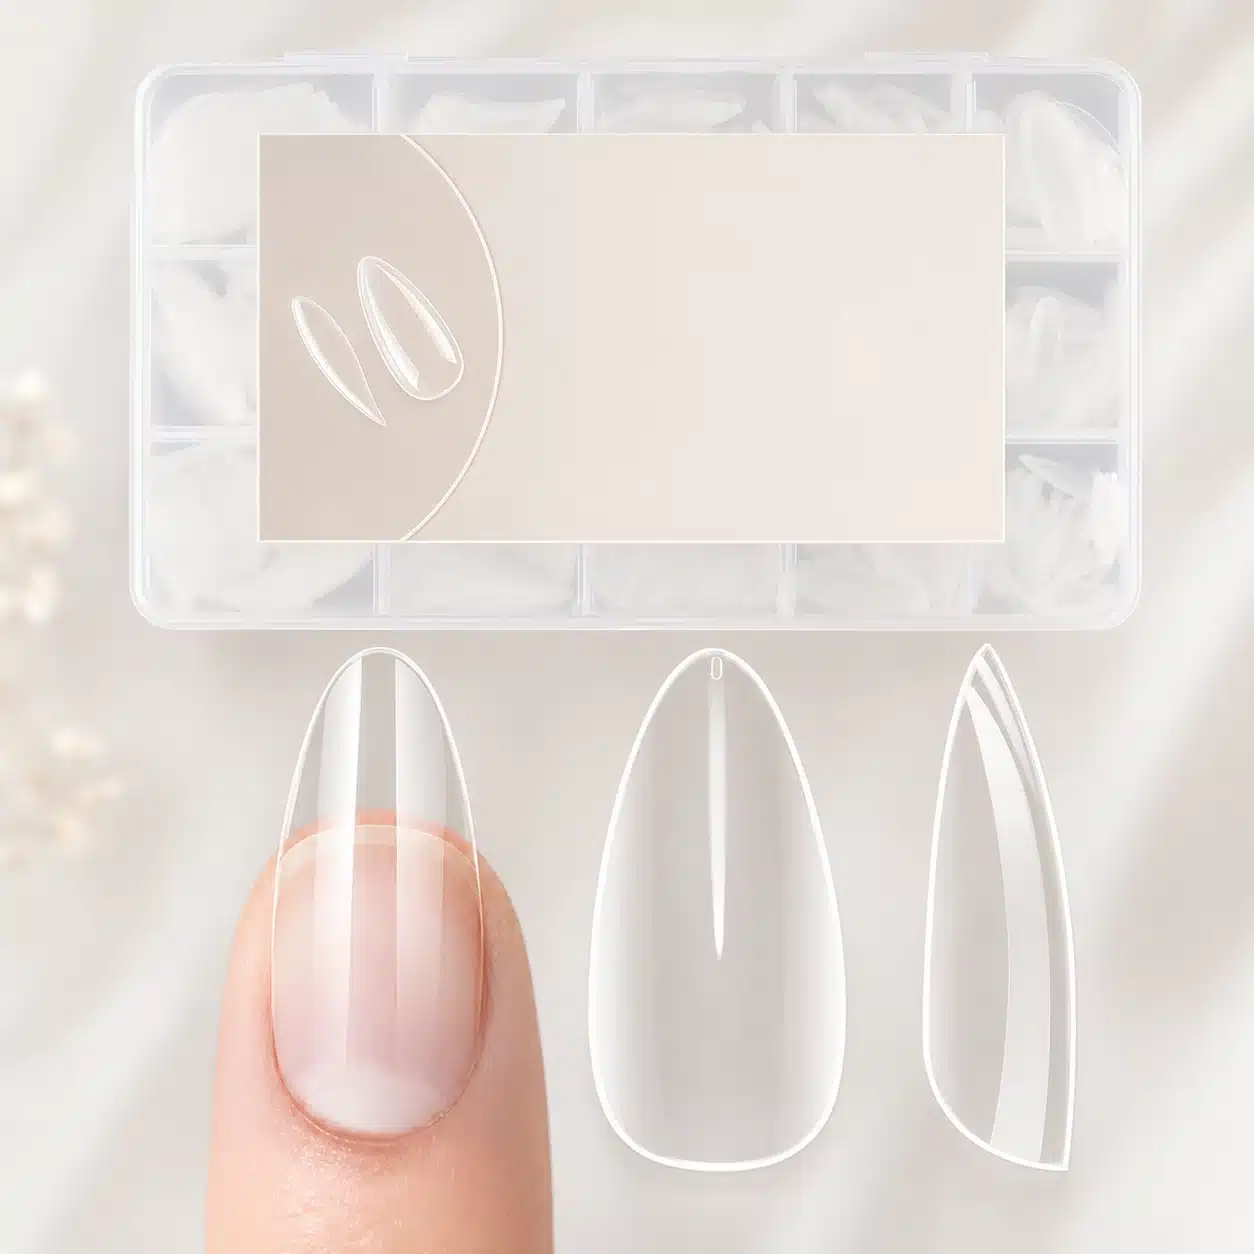
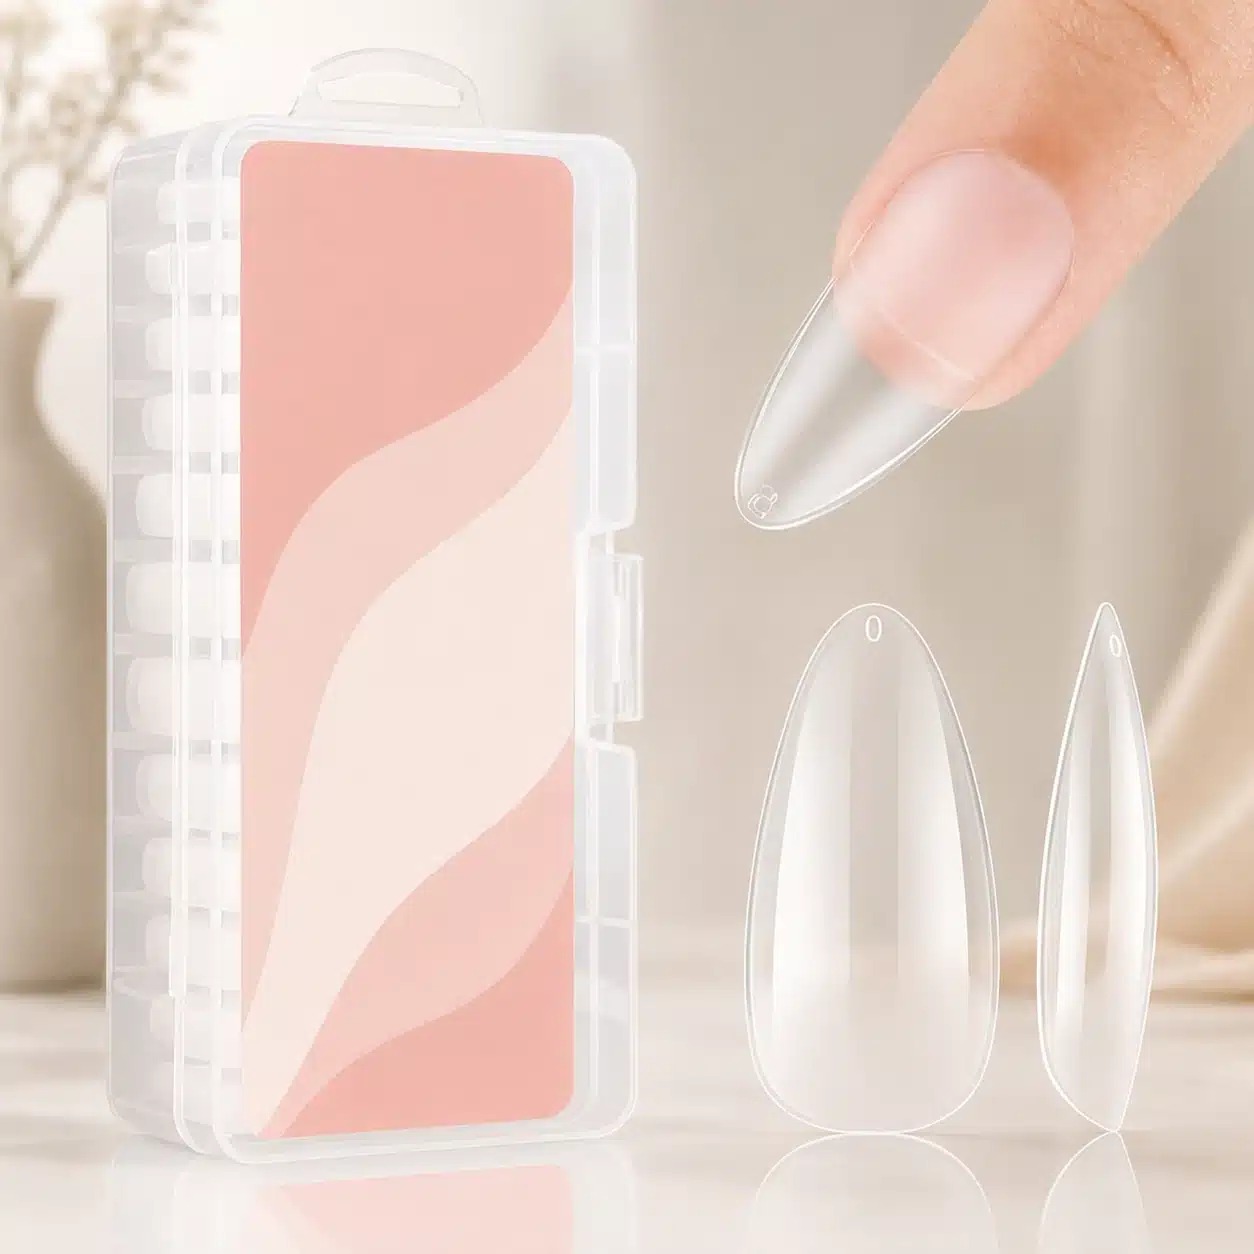
Almond nail tips are artificial nail forms that already include the basic almond outline. Some cover the whole natural nail, while others attach only to the free edge and need an acrylic, builder-gel, or other overlay. Finished press-ons arrive colored and decorated, while clear tips are designed to be painted after application.
The defining feature is the taper. The sides should move inward gradually rather than remaining parallel like square nails. The tip should be softly pointed, not needle-sharp. For a sharper comparison, almond vs coffin nails shows how a rounded almond point differs from a flat coffin tip.
Almond tips can also change the way the hand looks. The narrowing outline pulls the eye forward, which can make fingers appear longer. That visual effect is strongest when the tip width is controlled and the length is not so extreme that it overwhelms the hand.
Full-Cover vs Half-Cover vs Press-On Almond Tips
Full-cover tips extend from the cuticle area to the free edge. They create the complete shape in one piece and are commonly used with soft-gel systems or as blank press-ons. They are convenient because the apex, sidewalls, and tip are already formed, but the entire underside curve must fit your natural nail.
Half-cover tips attach near the free edge. They add length, then rely on an overlay to build the rest of the structure. This system gives a technician more freedom to customize the apex and width, but it requires more blending and product control.
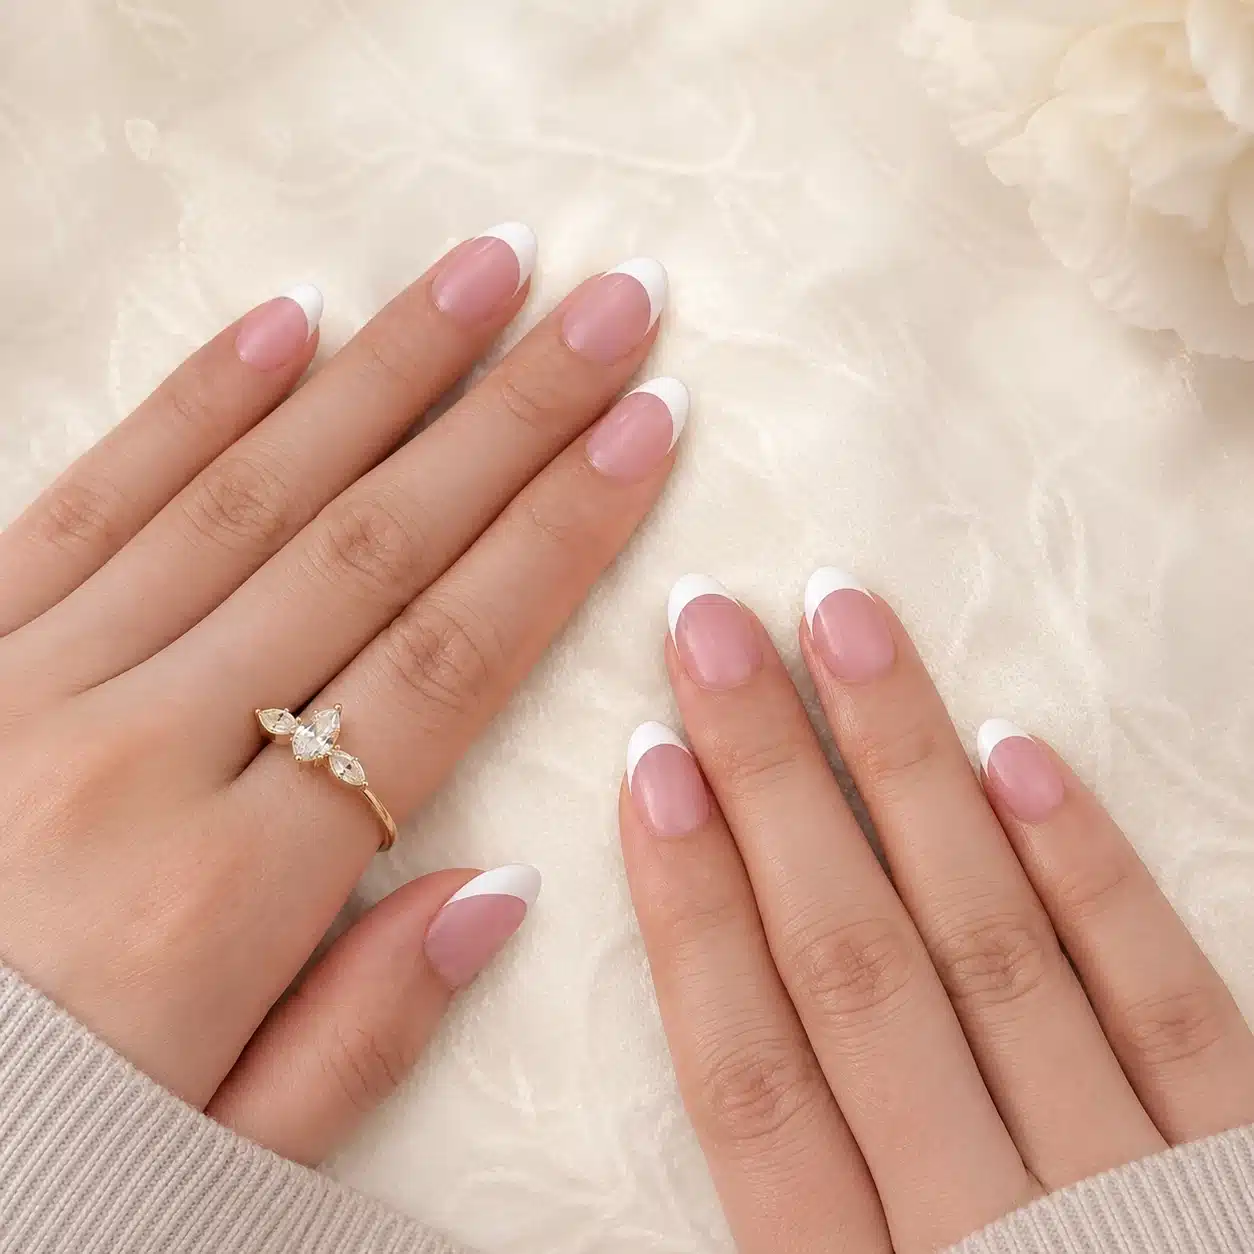
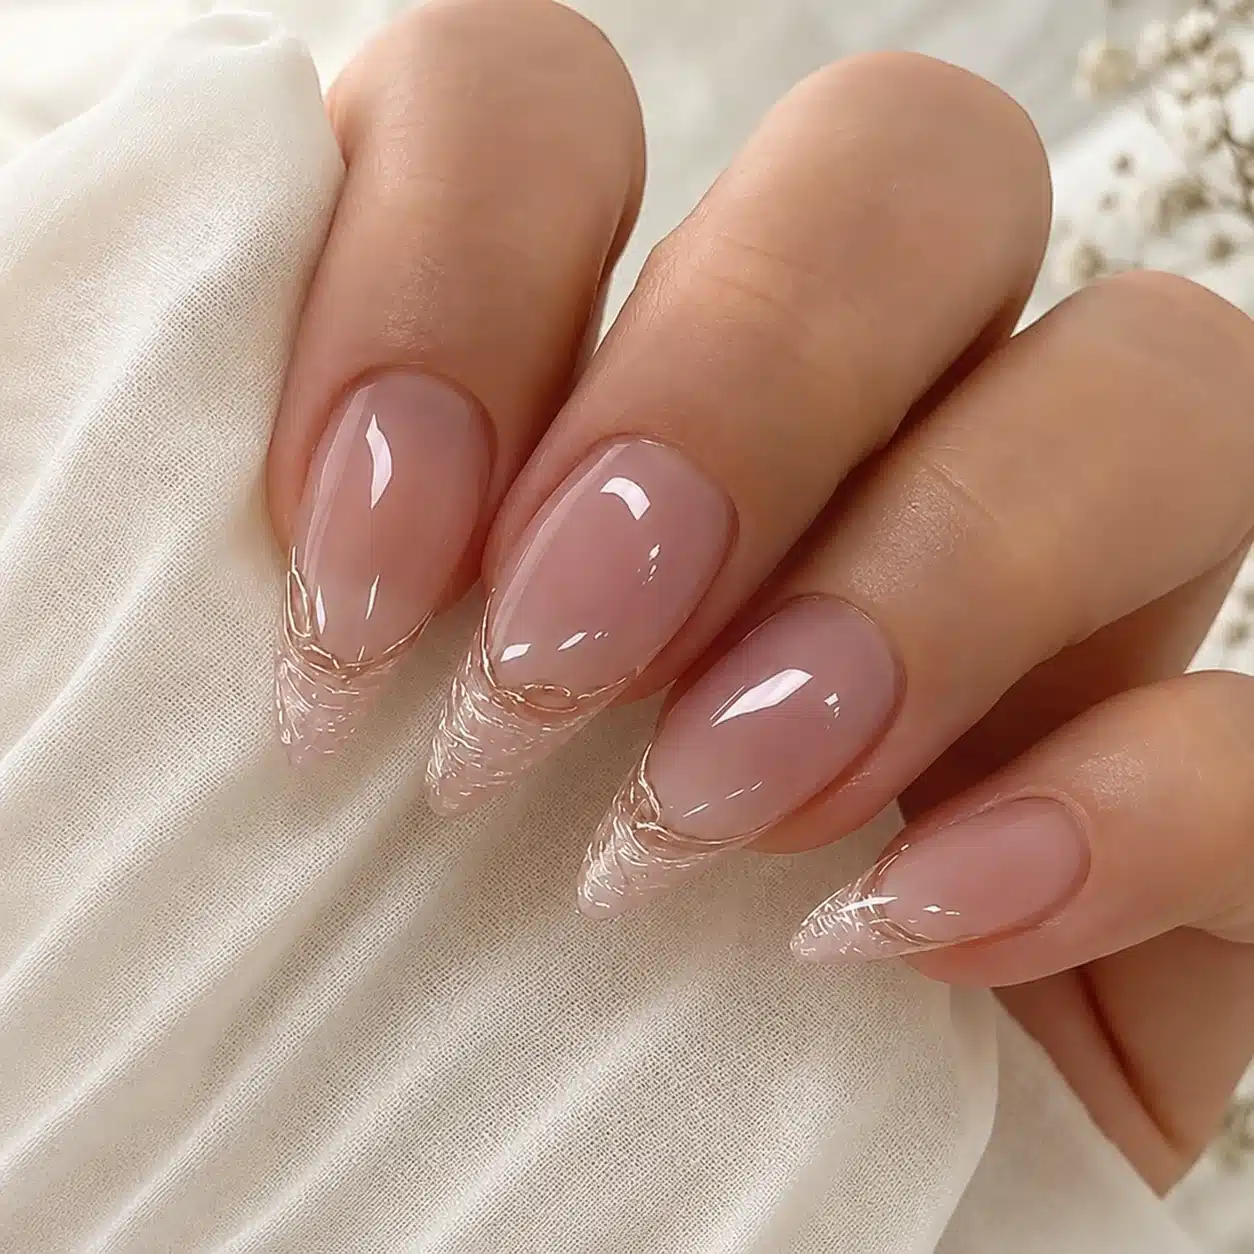
Finished press-ons are full-cover tips that arrive with color or art already applied. They are useful when you want a complete look without painting. The white-gold styling in these almond French tip press-ons shows how a finished set can combine shape and design in one step.
Choose the system that matches your experience. A beginner who wants a simple temporary manicure may prefer finished press-ons. A DIY gel user may prefer pre-shaped full-cover tips. Someone who wants a salon-built enhancement may choose half-cover tips with an overlay.
How to Choose the Right Length, Curve, and Material
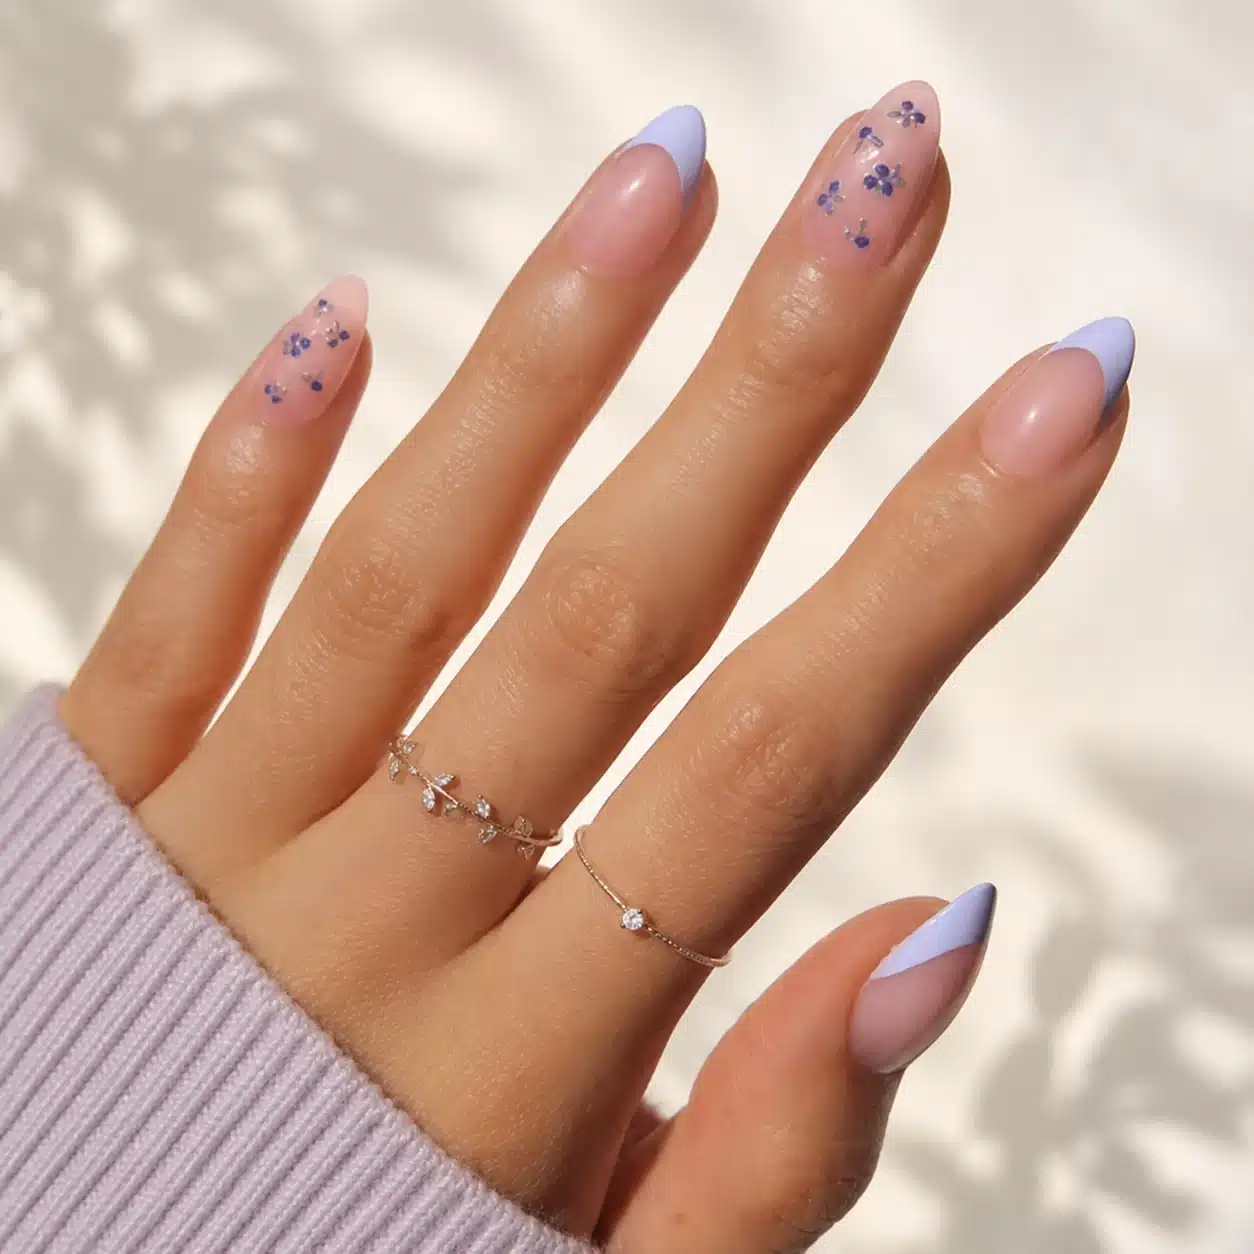
Start with length. Short almond tips are easier to wear during typing, cooking, childcare, workouts, and everyday tasks. Medium almond tips show more of the narrowing silhouette and give art more room. Long almond tips create a dramatic look, but they require more structure and are more likely to feel intrusive if you are not used to extensions.
Next, check the curve. Place the tip on the bare nail without adhesive. The center should touch without forcing the sides downward. If the middle touches but both sidewalls lift, the tip may be too flat. If the sidewalls touch but the middle floats above the nail, the tip may be too curved. Do not press a mismatched tip into place and expect adhesive to solve the fit.
Material descriptions vary by brand, so rely on the product’s instructions rather than assuming every “gel” tip behaves the same way. The useful qualities are flexibility, even thickness, a smooth cuticle edge, and enough strength to hold the intended length. Pre-etched tips can reduce one preparation step, but you still need to follow the manufacturer’s full application process.
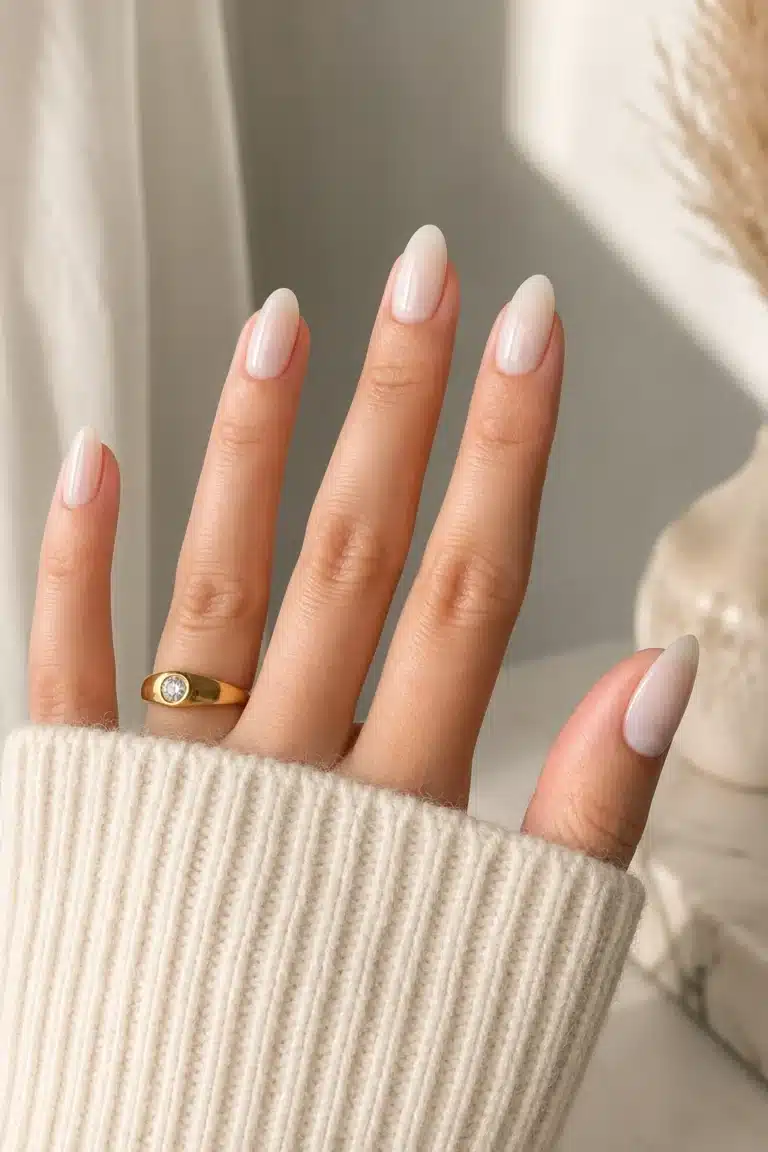
For a softer neutral finish after application, milky almond nails show how a translucent color keeps the shape visible without making the manicure look heavy.
How to Size Almond Nail Tips Correctly
Size every nail before you open glue or gel. Line the tips up from thumb to pinky and write down the size sequence if the pack includes numbered tips. This prevents you from trying to search through the box while adhesive is already setting.
Use this four-point sizing test:
- Sidewall coverage: the tip should cover the nail from one sidewall to the other.
- Cuticle comfort: the cuticle edge should sit close without touching skin or creating pressure.
- Center contact: the middle of the tip should contact the natural nail rather than floating above it.
- No visible gap: view the nail from the free edge and make sure light is not showing through a large space under the tip.
When you are between sizes, choose the slightly larger tip and file both sides evenly until it fits. A smaller tip that must be pushed down can pinch the natural nail and may lift at the edges. Do not remove so much material that one side becomes thinner or the point moves off-center.
Readers who prefer a clean, barely-there manicure can pair a correctly sized tip with natural pink nail polish so the finished set looks polished without hiding the almond outline.
How to Apply Almond Nail Tips Step by Step
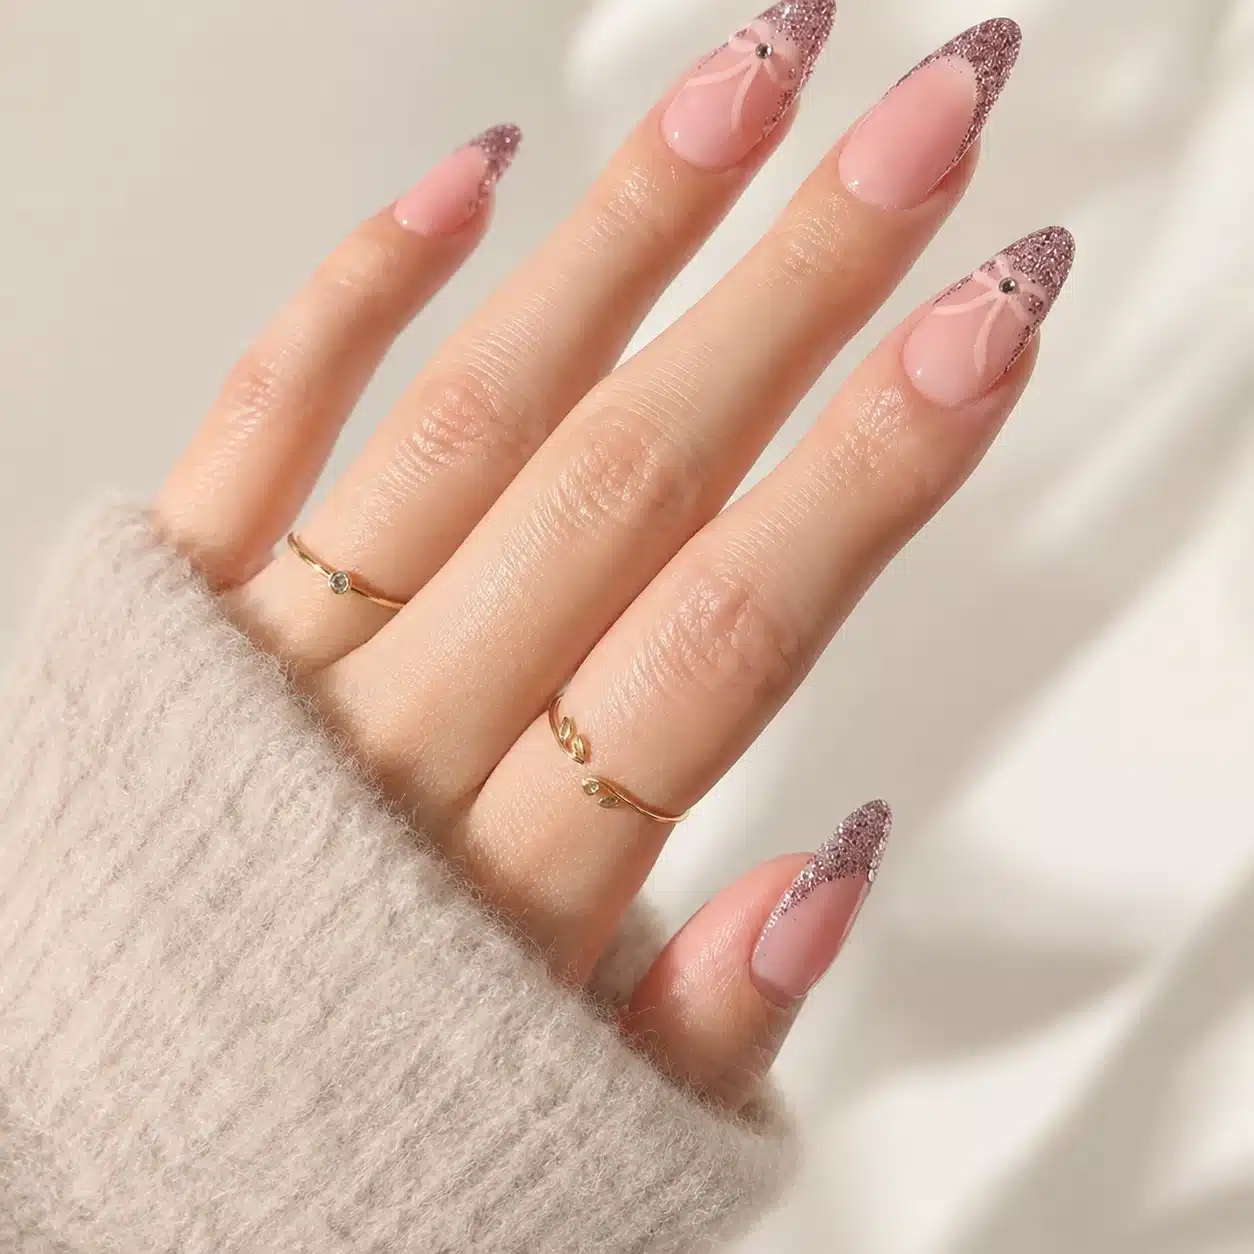
The exact bonding process depends on whether you are using nail glue, adhesive tabs, gel adhesive, acrylic, or another system. Always follow the label directions, curing requirements, warnings, and removal method for the products in your kit. The steps below describe the general preparation and positioning sequence rather than replacing brand instructions.
1. Remove old product and wash and dry the hands thoroughly.
2. Push back only loose cuticle tissue gently and remove surface debris from the nail plate.
3. Shape the natural free edge so it does not interfere with the tip.
4. Lightly prepare the surface only as directed by the system. Do not aggressively thin the natural nail.
5. Clean the surface using the preparation method recommended by the product manufacturer.
6. Arrange all ten tips in order and confirm the fit one final time.
7. Apply the correct amount of adhesive according to the product directions.
8. Place the tip at the intended angle, align the center, and lower it carefully to reduce bubbles.
9. Hold or cure the tip exactly as directed.
10. Check the sidewalls, cuticle area, and underside before moving to the next nail.
A bubble, gap, or crooked point is easier to correct immediately than after the full set is finished. Stop if a product causes burning, marked discomfort, or skin irritation.
Amazon Almond Nail Tip Picks
Affiliate disclosure: Amazon product links are provided for convenience. Affiliate tracking is not active for this draft.
Best for a classic medium almond set
UNA GELLA Almond Gel Nail Tips, 504 Pieces, Medium Almond
full-cover medium almond shape; 12 sizes; pre-shaped clear tips for DIY extensions.
Best for a shorter everyday almond shape
UNA GELLA Short Almond Nail Tips, 504 Pieces
short almond shape; 12 sizes; full-cover soft tips for shorter extensions.
Best for a pre-etched short almond option
Beetles Soft Gel Nail Tips, Short Almond, 288 Pieces
short almond profile; 12 sizes; pre-etched full-cover soft gel tips.
How to Shape and Refine the Almond Tip
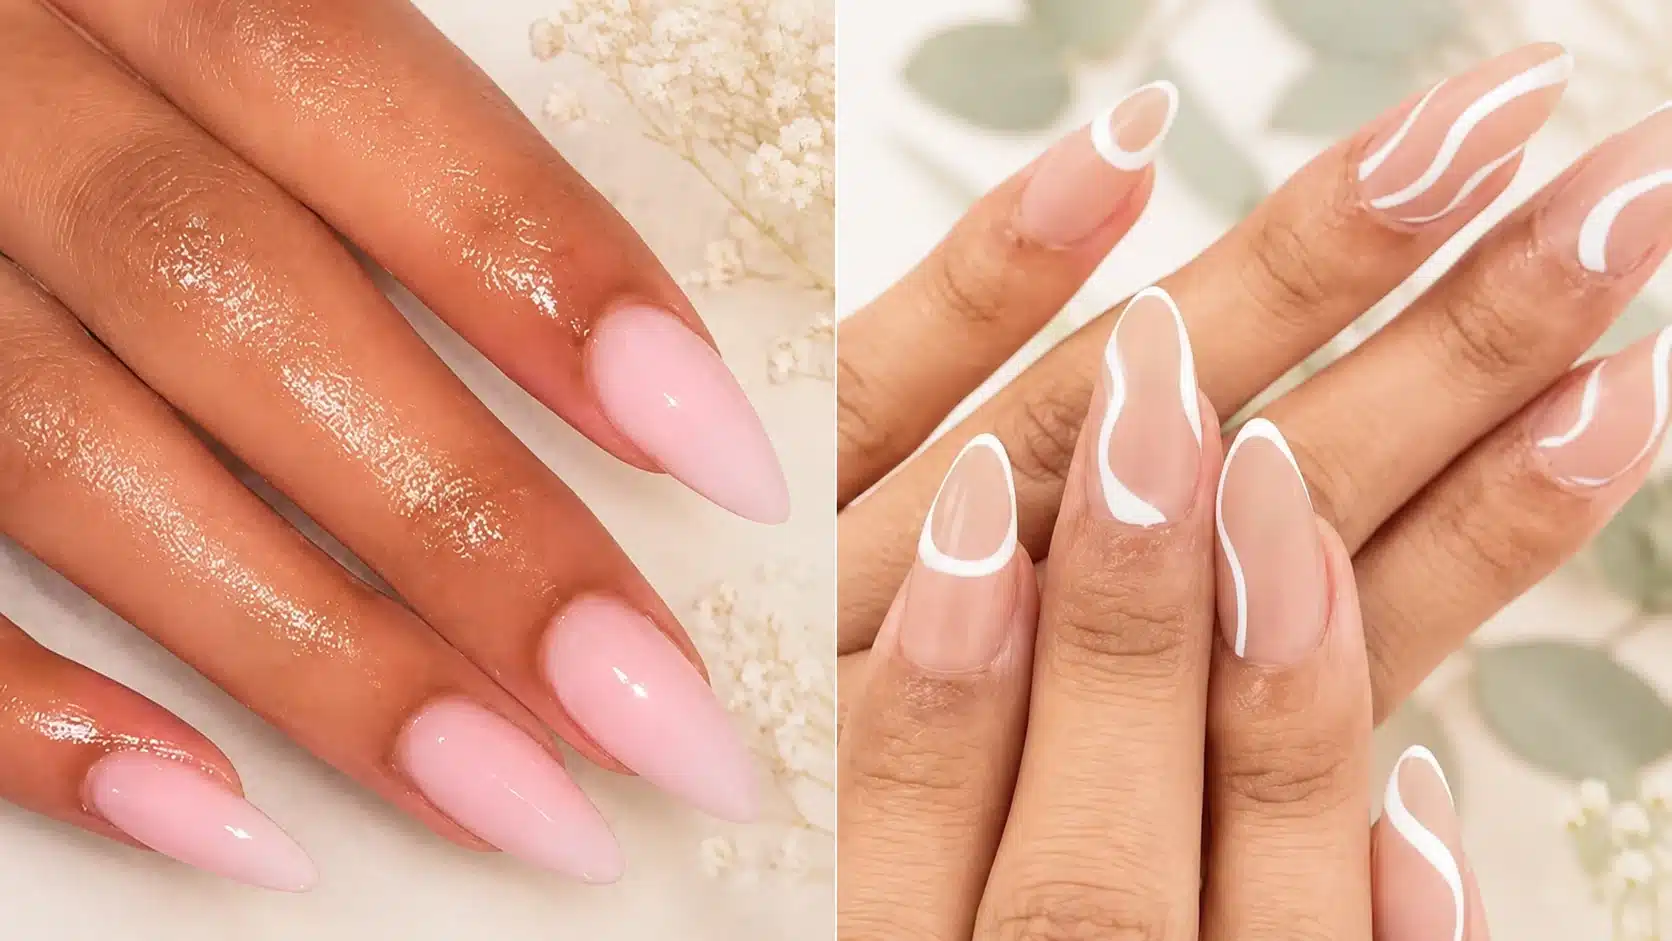
Premade almond tips may still need refinement. Compare all five nails on one hand before filing. The points should sit in a consistent line, and the taper should look balanced from finger to finger.
Mark or imagine the center of each free edge. File one side toward that center, then switch to the other side and match the angle. Use controlled strokes rather than sawing aggressively. Once the two sides are even, soften the very point so the nail reads as almond rather than stiletto.
Check from the front. A centered point can look correct from above but uneven when viewed straight on. Also compare the thickness at both sidewalls. Over-filing one side can weaken the tip and make the manicure look twisted.
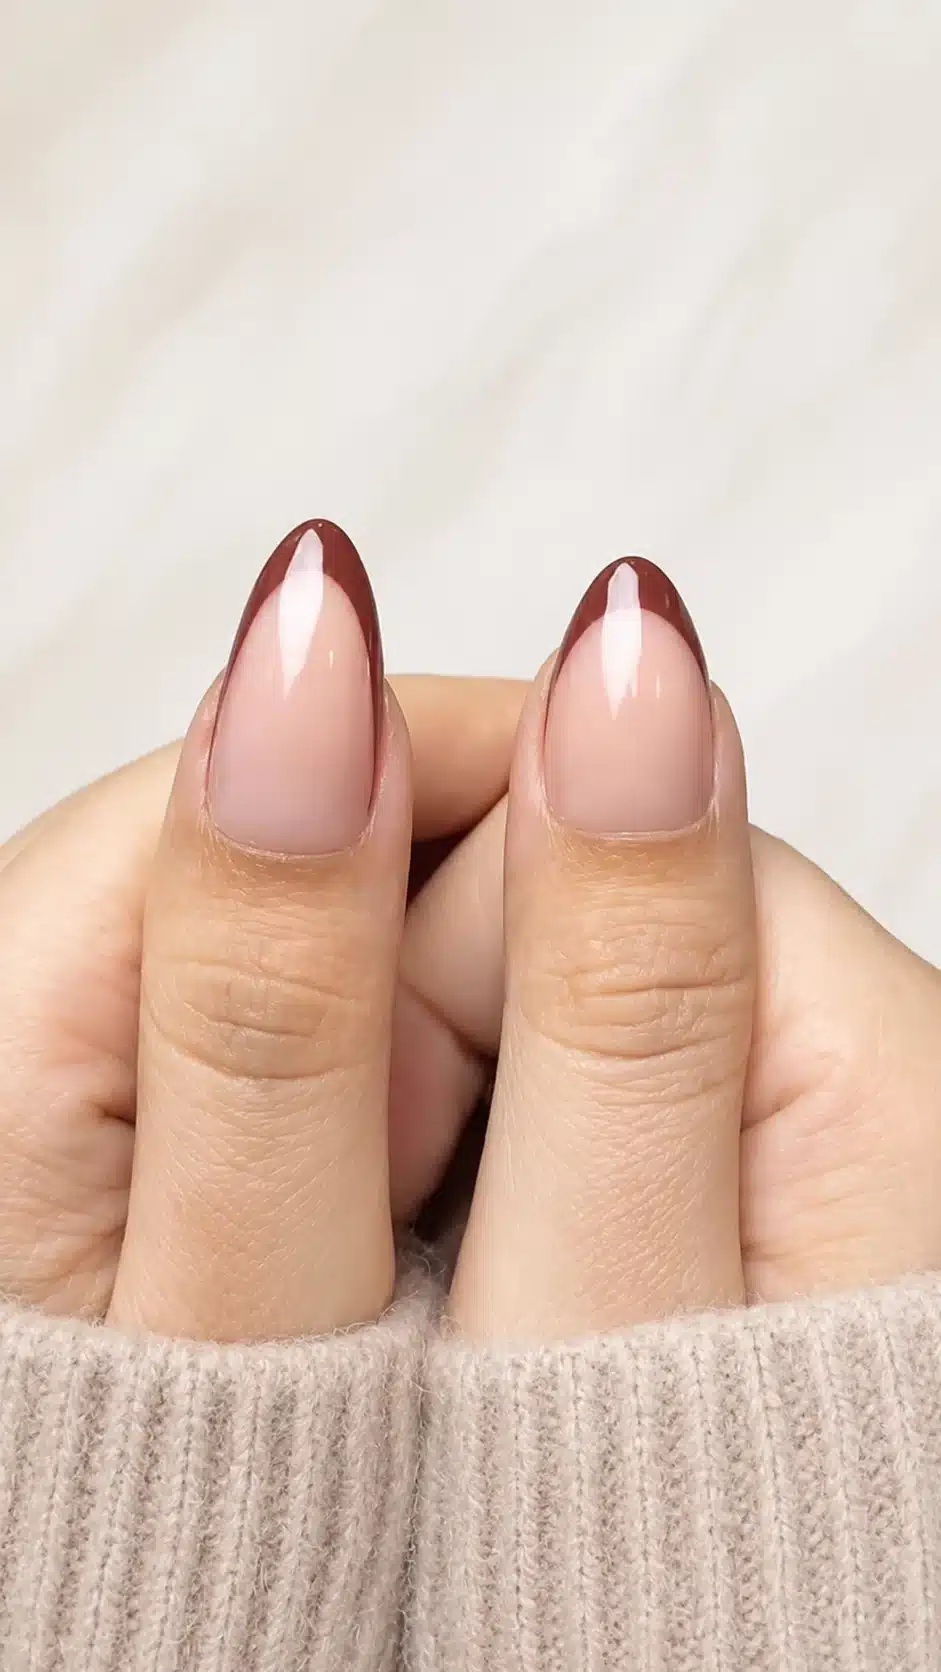
For a softer French finish, classic almond French tips demonstrate how a curved smile line follows the tapered shape. If the French line looks too wide at the center, refine the curve rather than filing the almond point narrower.
Best Designs for Almond Nail Tips
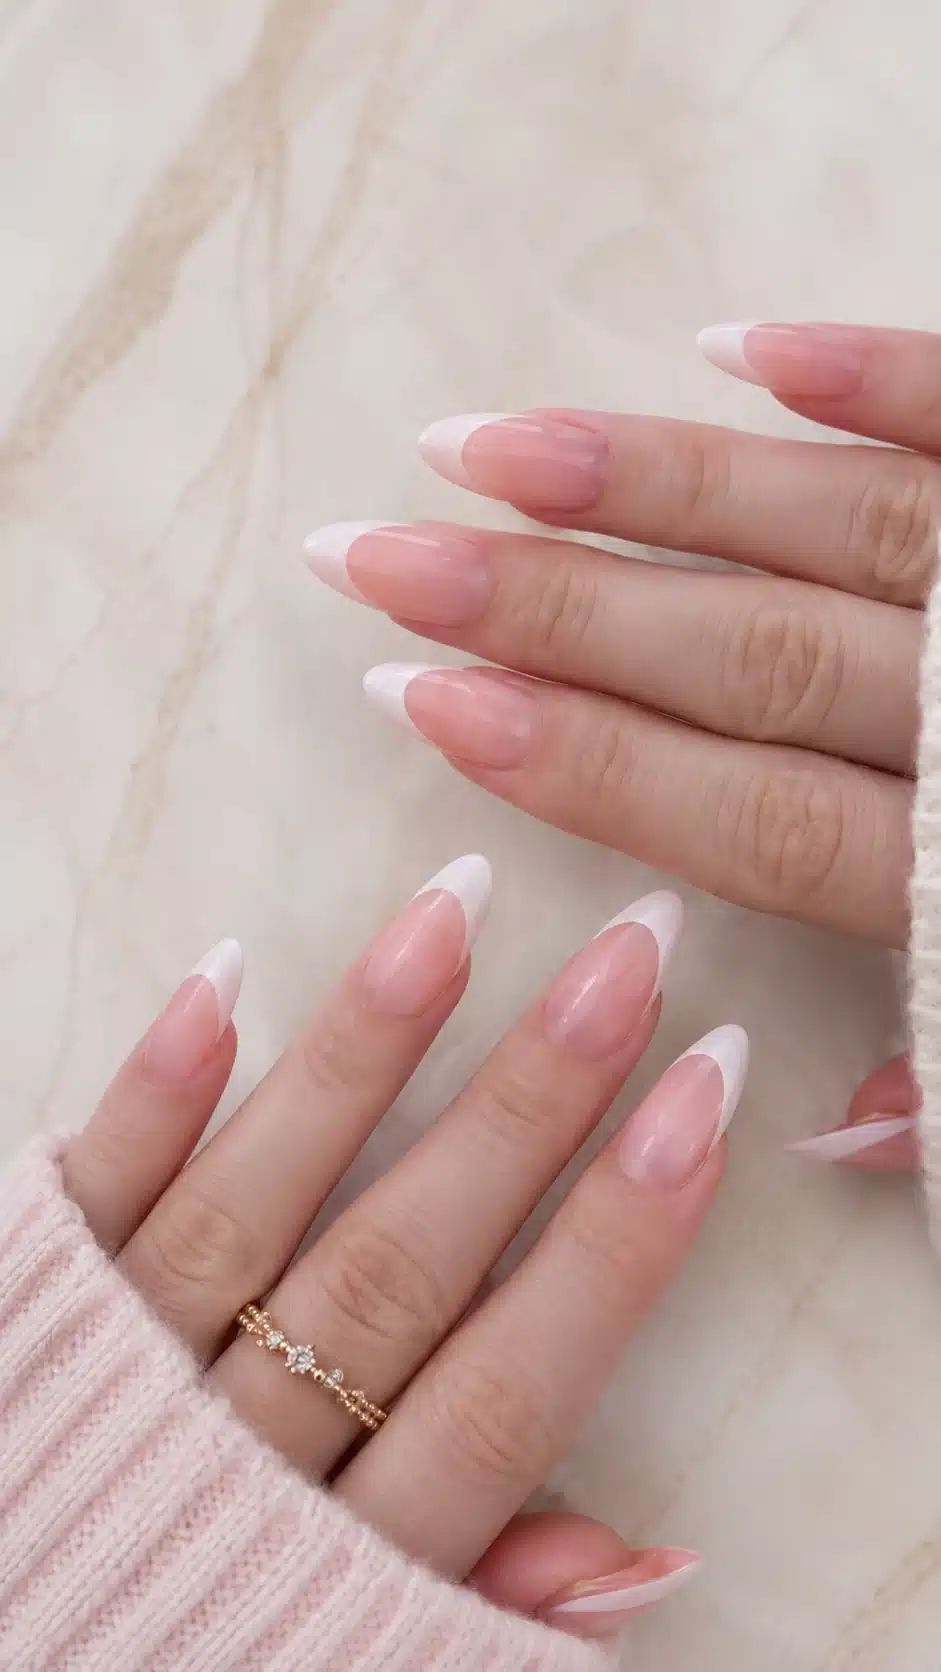
Almond tips work with both simple and detailed designs because the taper creates a natural visual center. Curved French tips, V-French lines, chrome, cat-eye polish, ombré, swirls, floral art, and centered gems all follow the shape well.
Pink and white designs are especially useful for seeing whether the shape is symmetrical. A clean white edge reveals uneven sidewalls immediately. The examples in this pink and white nails guide range from micro French lines to softer pearly almond looks.
For a minimalist set, choose sheer nude, milky pink, or a clean glossy finish. A simple color lets the shape carry the manicure. For more contrast, use a darker shade at the tip or a narrow outline that emphasizes the taper. Keep heavy decorations balanced so they do not pull the eye away from the center point.
How to Make Almond Tips Last and Remove Them Safely
Good wear starts with fit and preparation. A tip that is too small, too curved, or attached over residue is more likely to lift. Keep product off the surrounding skin, avoid using the nails as tools, and wear gloves for prolonged water exposure or cleaning tasks when practical.
Do not patch a lifting area without understanding why it lifted. Moisture and debris can collect under a separated tip. If a tip becomes painful, discolored, loose, or damaged, remove it using the system’s directions and inspect the natural nail.
The Cleveland Clinic’s press-on nail safety guidance notes risks such as infection, allergic reaction, and damage to the nail unit. That is why removal should never involve ripping, prying, or forcing a bonded tip away from the natural nail.
Follow the removal instructions for the exact adhesive or gel system you used. Different products require different solvents, soaking times, filing steps, or tab-removal methods. Stop if removal becomes painful. Afterward, wash the hands, smooth only loose edges, and moisturize the nail and surrounding skin.
For days when you want to leave the nails bare, these clean natural shine nails offer a simple transition between extension sets. You can also browse the wider Nail Shapes & Lengths category for other shapes and lengths before choosing your next set.
Frequently Asked Questions
What are almond nail tips?
Almond nail tips are artificial extensions pre-shaped with tapered sides and a softly rounded point. They may be full-cover clear tips, half-cover tips used under an overlay, or finished press-ons. Their main purpose is to create almond length and symmetry without waiting for the natural nail to grow.
How do I choose the right size almond nail tips?
Choose a size that covers the natural nail from sidewall to sidewall without touching skin or creating pressure. The center should sit flush without a large gap. When you are between sizes, use the slightly larger tip and file both sides down evenly rather than forcing a smaller tip into place.
Are almond nail tips good for short nails?
Yes. Short full-cover almond tips can create a recognizable taper while staying practical for daily wear. Very short natural nails may not support a strong almond shape on their own, so a premade tip can add the small amount of length needed to form a balanced rounded point.
How do you apply full-cover almond tips?
Prepare the nails according to the system, size all ten tips, apply the recommended adhesive, align the tip with the center of the nail, and lower it carefully to reduce bubbles. Hold or cure it exactly as directed. Product instructions take priority because glue, tabs, and gel adhesives use different methods.
How long do almond nail tips last?
There is no universal wear time. It depends on the tip system, adhesive, preparation, fit, natural nail condition, daily activities, water exposure, and product directions. Replace or remove a tip when it lifts, becomes damaged, causes discomfort, or reaches the maintenance point specified by the system.
How do you remove almond nail tips safely?
Use the removal method listed for the exact adhesive or gel system. Do not peel, pry, or rip the tip away. Allow the bond to soften fully, work slowly, and stop if the natural nail feels painful. After removal, clean the nail gently and moisturize the surrounding skin.
Final Verdict
The best almond nail tips fit before they are bonded. Choose the length for your lifestyle, match the curve to the natural nail, cover both sidewalls, and keep the point centered. Short full-cover tips are usually the easiest beginner option, while medium tips create a more obvious almond silhouette and more room for design.
Do not let a beautiful image override a poor fit. A slightly larger tip filed down evenly is safer and more stable than a small tip forced into place. Follow product directions from preparation through removal, and treat lifting, pain, irritation, or discoloration as reasons to stop and inspect the nail rather than simply covering the problem.
Try next: blush pink nail polish | pink gel nail polish | sheer pink gel nail polish | hot pink gel nail polish